
To learn more about CSRs and the importance of your private key, reference our Certificate Signing Request (CSR) Overview article. If you already generated the CSR and received your trusted SSL certificate and need help with installation, reference our Amazon EC2 server SSL Installation Instructions.
To create a CSR on your Amazon EC2 server, you will use OpenSSL commands within your EC2 instance.
1. Connect to your EC2 Instance
For instructions on how to connect to your instance, check Amazon's guide here.
Once connected, navigate to your server's private key store via /etc/pki/tls/private/.
2. Generate New Private Key
To create a new 2048-bit RSA private key, run the following command:
[ec2-user ~]$ sudo openssl genrsa -out custom.key
3. Create the CSR from the key
After generating the private key, run the following command to create the CSR:
[ec2-user ~]$ sudo openssl req -new -key custom.key -out csr.pem
OpenSSL will then open a new window for filling out the certificate request. The following fields are required:
- Country: 2-letter ISO abbreviation for your country.
- State/Province: The name of the state, province, or region within your country where your organization is located. Do not abbreviate this name.
- Locality: The city or locality where you are located.
- Organization Name: The full legal name of your organization. (For non-organization certificates, you can fill this field with any relevant info, such as your domain name, or N/A)
- Common Name: The domain name or public IP address to be secured by the SSL certificate, i.e. www.domain.com. For a single-domain wildcard SSL certificate, the domain should be formatted like *.domain.com.
The organization unit and email address fields are typically not required in your CSR.
CSR Challenge Phrase
OpenSSL may prompt you to set a challenge phrase or password on the CSR. We do not recommend setting a challenge phrase.
4. Check the CSR Output
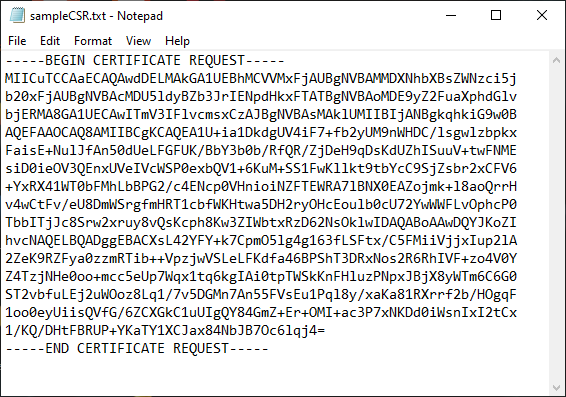
The CSR will finally be generated as a .pem type file, which can be opened in a text editor like Notepad. You can open this file and copy and paste the full code, including the -----BEGIN CERTIFICATE REQUEST----- header and -----END CERTIFICATE REQUEST----- footer, into your SSL order generation form.
5. Validation and Installation
After you have received your CSR, and have enrolled your order, your certificate will enter the validation process with the issuing Certificate Authority (CA) and require the certificate requester to complete some form of validation. For information regarding the different levels of the validation process and how to satisfy the industry requirements, reference our validation articles.
After you complete the validation process and receive the trusted SSL Certificate from the issuing Certificate Authority (CA), proceed to the next step using our SSL Installation Instructions for Amazon EC2 (AWS).
